Overview
Provalytics is designed to get teams up and running quickly. The onboarding flow moves from invitation to connected data through a guided sequence that captures the right business context, identifies the right sources, and helps the team authorize the accounts needed for measurement. At a high level, the process looks like this:- accept your invitation
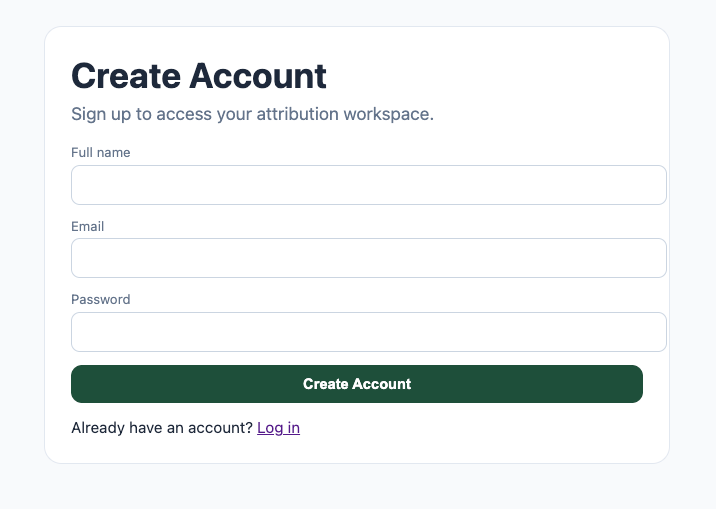
- create your account
- tell Provalytics what kind of business you run
- identify where sales and traffic are measured
- select the marketing channels you use
- connect the required data sources
- finish setup and let the platform begin syncing data
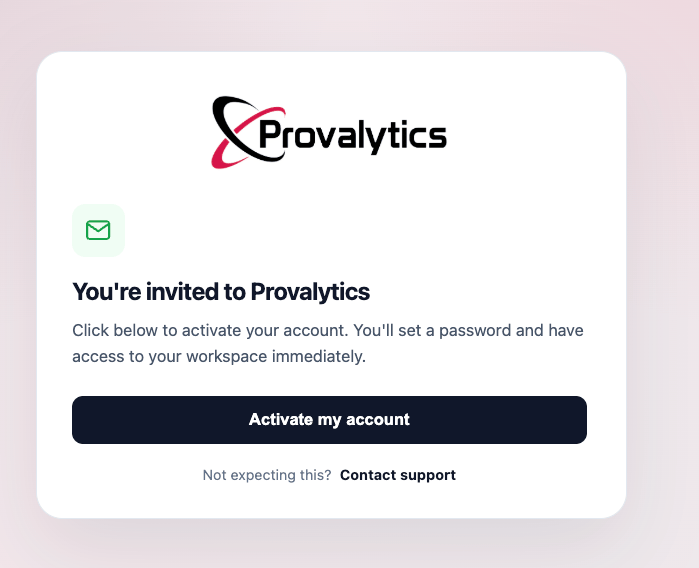
Step 1: You’re invited to Provalytics
Onboarding starts with an invitation email from Provalytics. From there, the user activates the account, sets a password, and enters the workspace.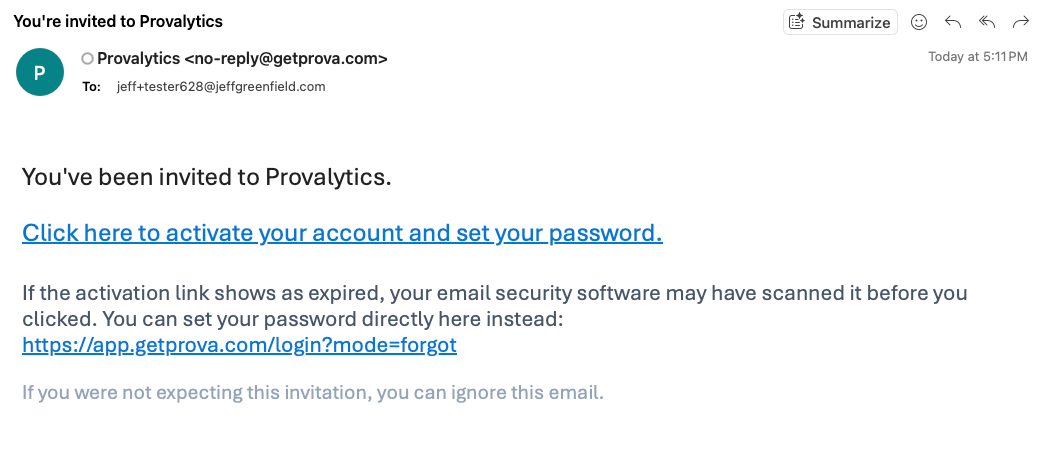
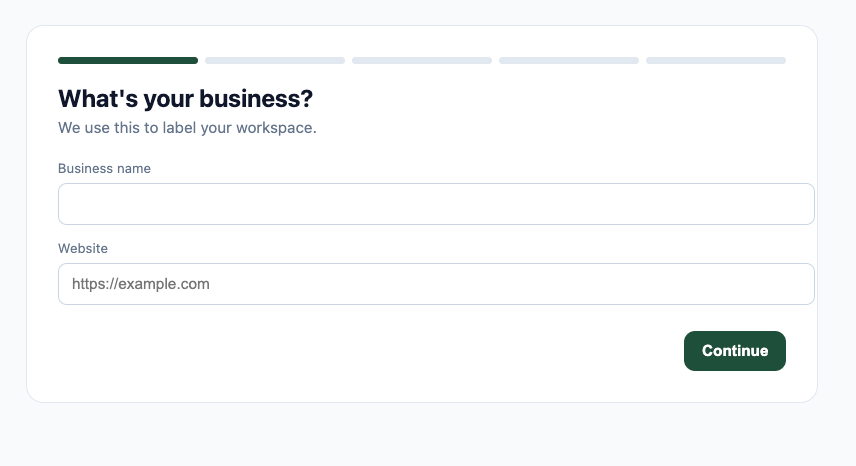
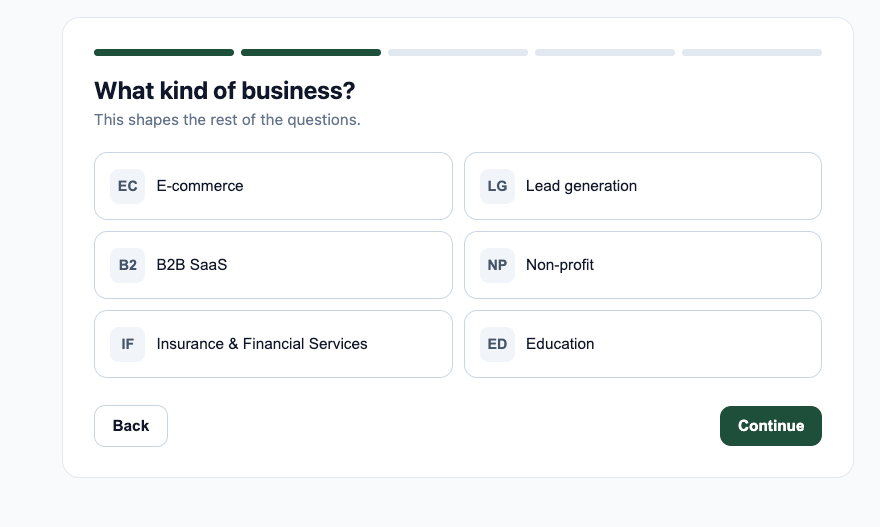
Step 2: Identify the business
The first part of setup establishes the workspace itself. This includes:- business name
- website
- business type
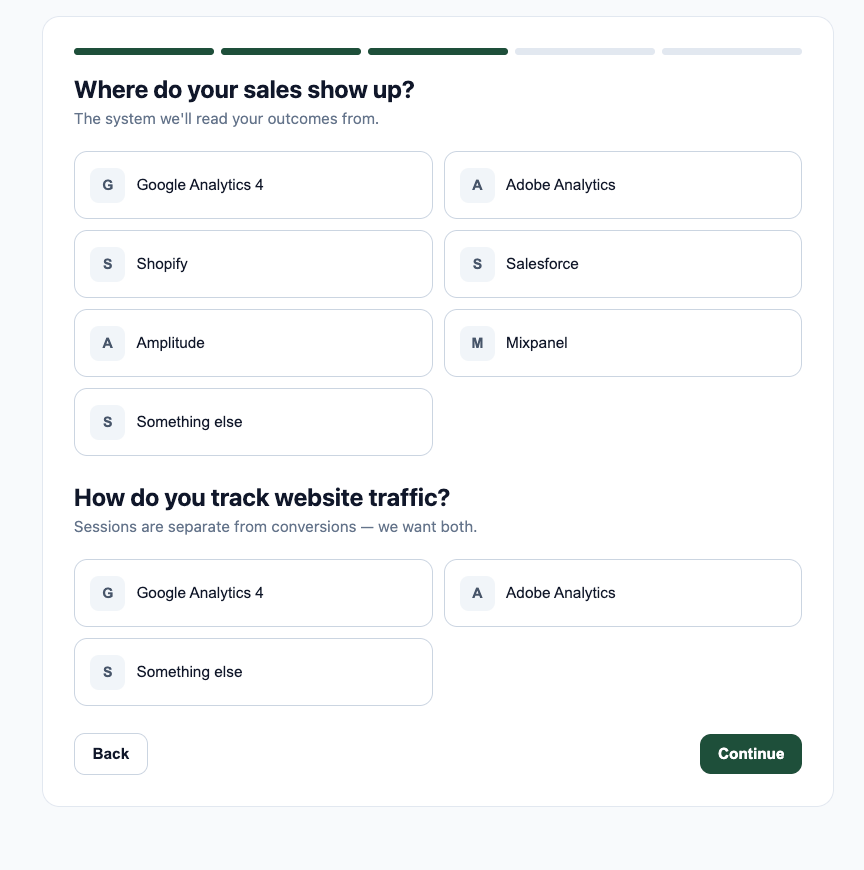
Step 3: Define where sales and traffic are measured
Next, the onboarding flow asks where sales show up and how website traffic is tracked. This matters because Provalytics treats:- sales
- website traffic
- marketing inputs
- where sales are recorded
- where website traffic is measured
Step 4: Identify which marketing channels are in scope
The next step identifies which paid media channels the client actually runs. That helps Provalytics know which connector routes should be presented next and which sources are expected to be part of the marketing model.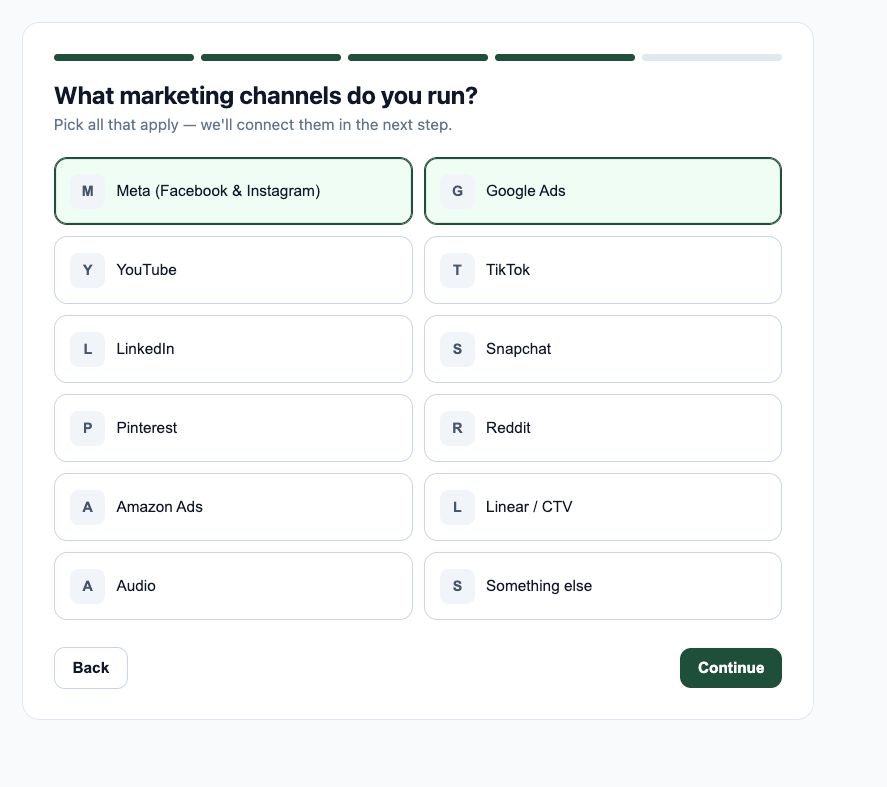
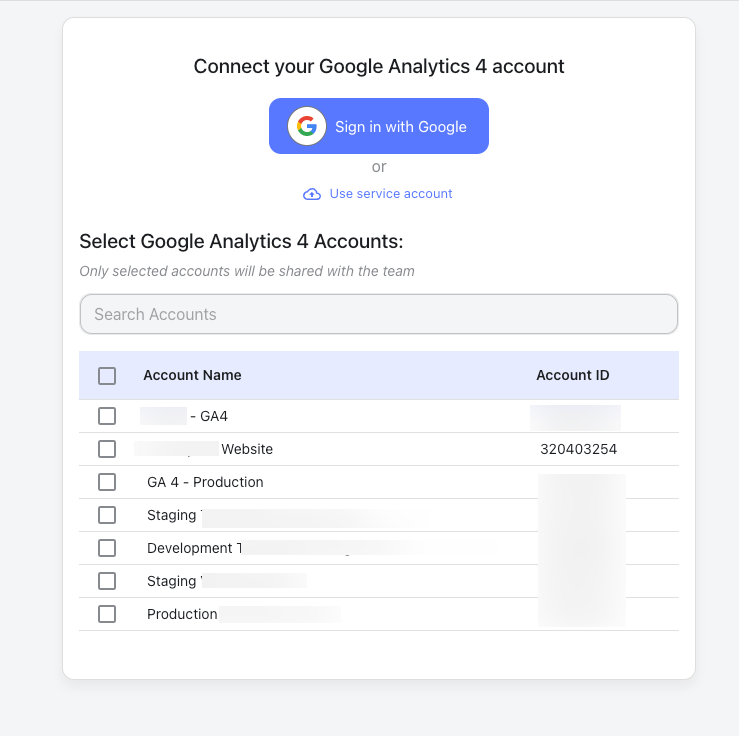
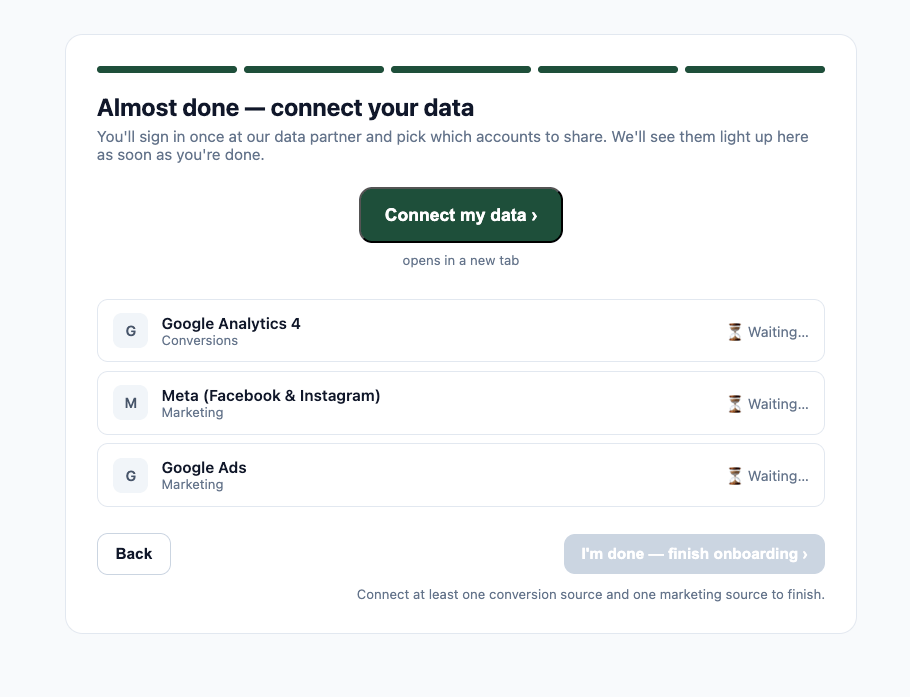
Step 5: Connect the required data sources
Once the business context is captured, the onboarding flow moves into connection setup. At this stage, users are asked to connect at least:- one conversion source
- one marketing source
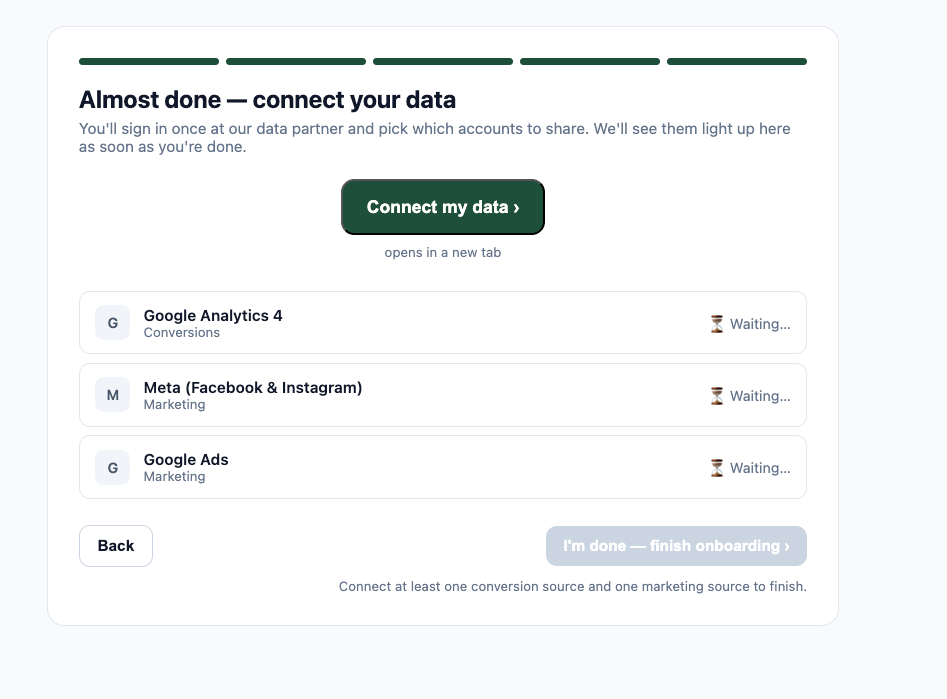
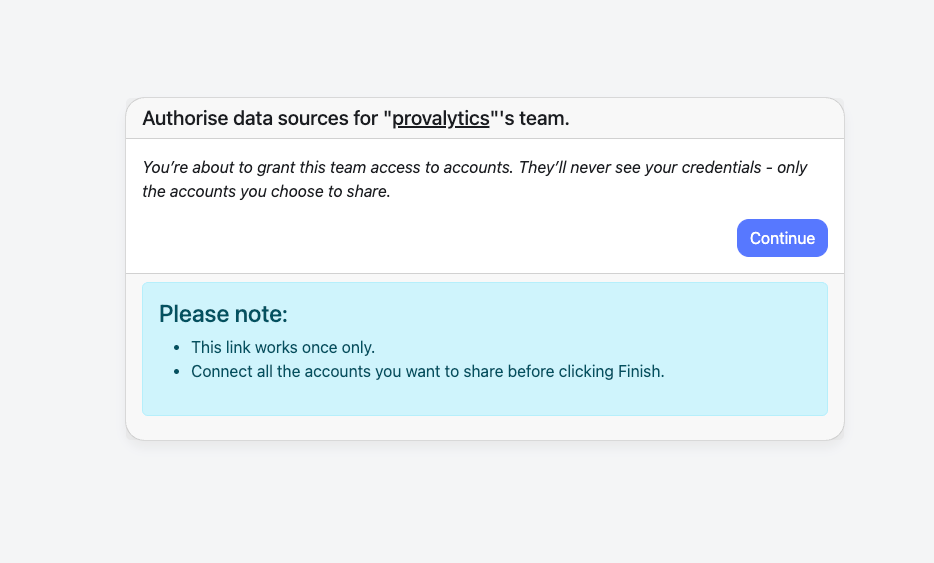
Step 6: Authorize accounts through the connection partner
For supported native connectors, the user is guided into the external authorization flow. The user first sees a note explaining that:- only selected accounts are shared
- credentials are not exposed to Provalytics
- all desired accounts should be connected before finishing
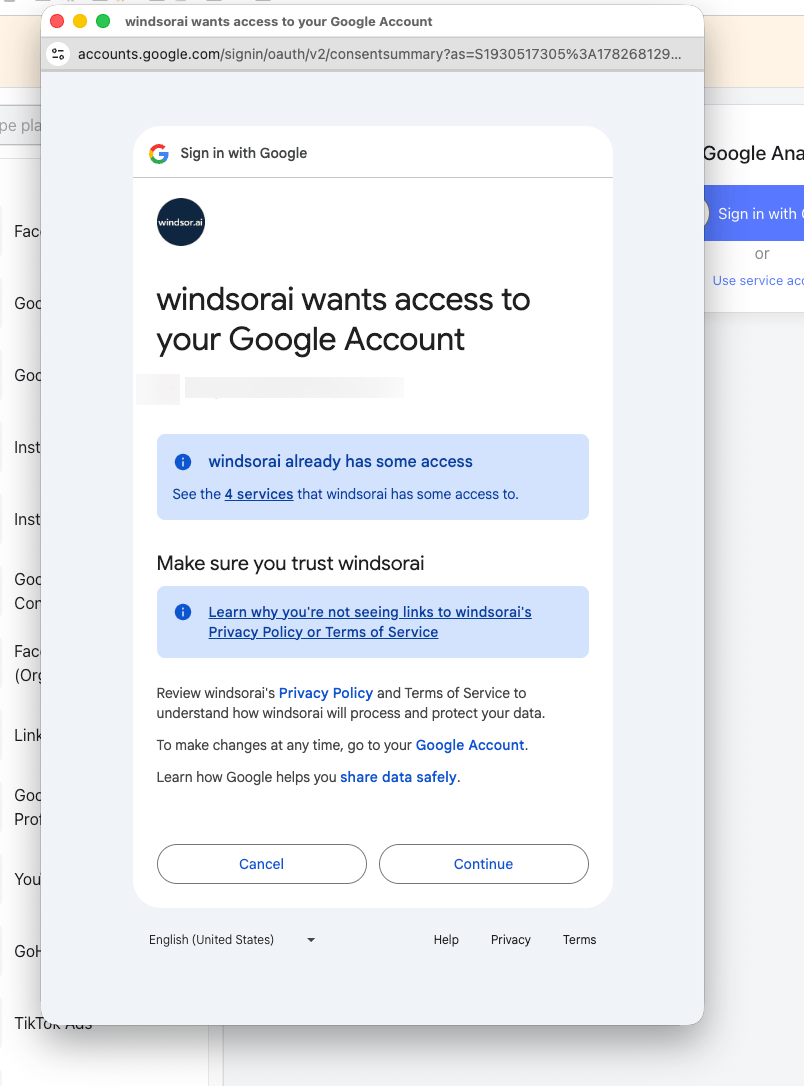
Step 7: Confirm the connection and finish onboarding
Once accounts are successfully shared, the provider flow confirms that the authorization is complete.
What happens next
After onboarding is complete, Provalytics can begin:- importing the connected data
- organizing it into the correct data layers
- validating the model inputs
- preparing the workspace for reporting, planning, and optimization
Why this flow matters
The onboarding experience is designed to reduce setup friction while still collecting the right inputs for a reliable measurement environment. It helps ensure that:- the business is classified correctly
- the right outcome sources are connected
- the right marketing channels are selected
- the correct accounts are shared
- the platform can move quickly into ingestion and modeling